|
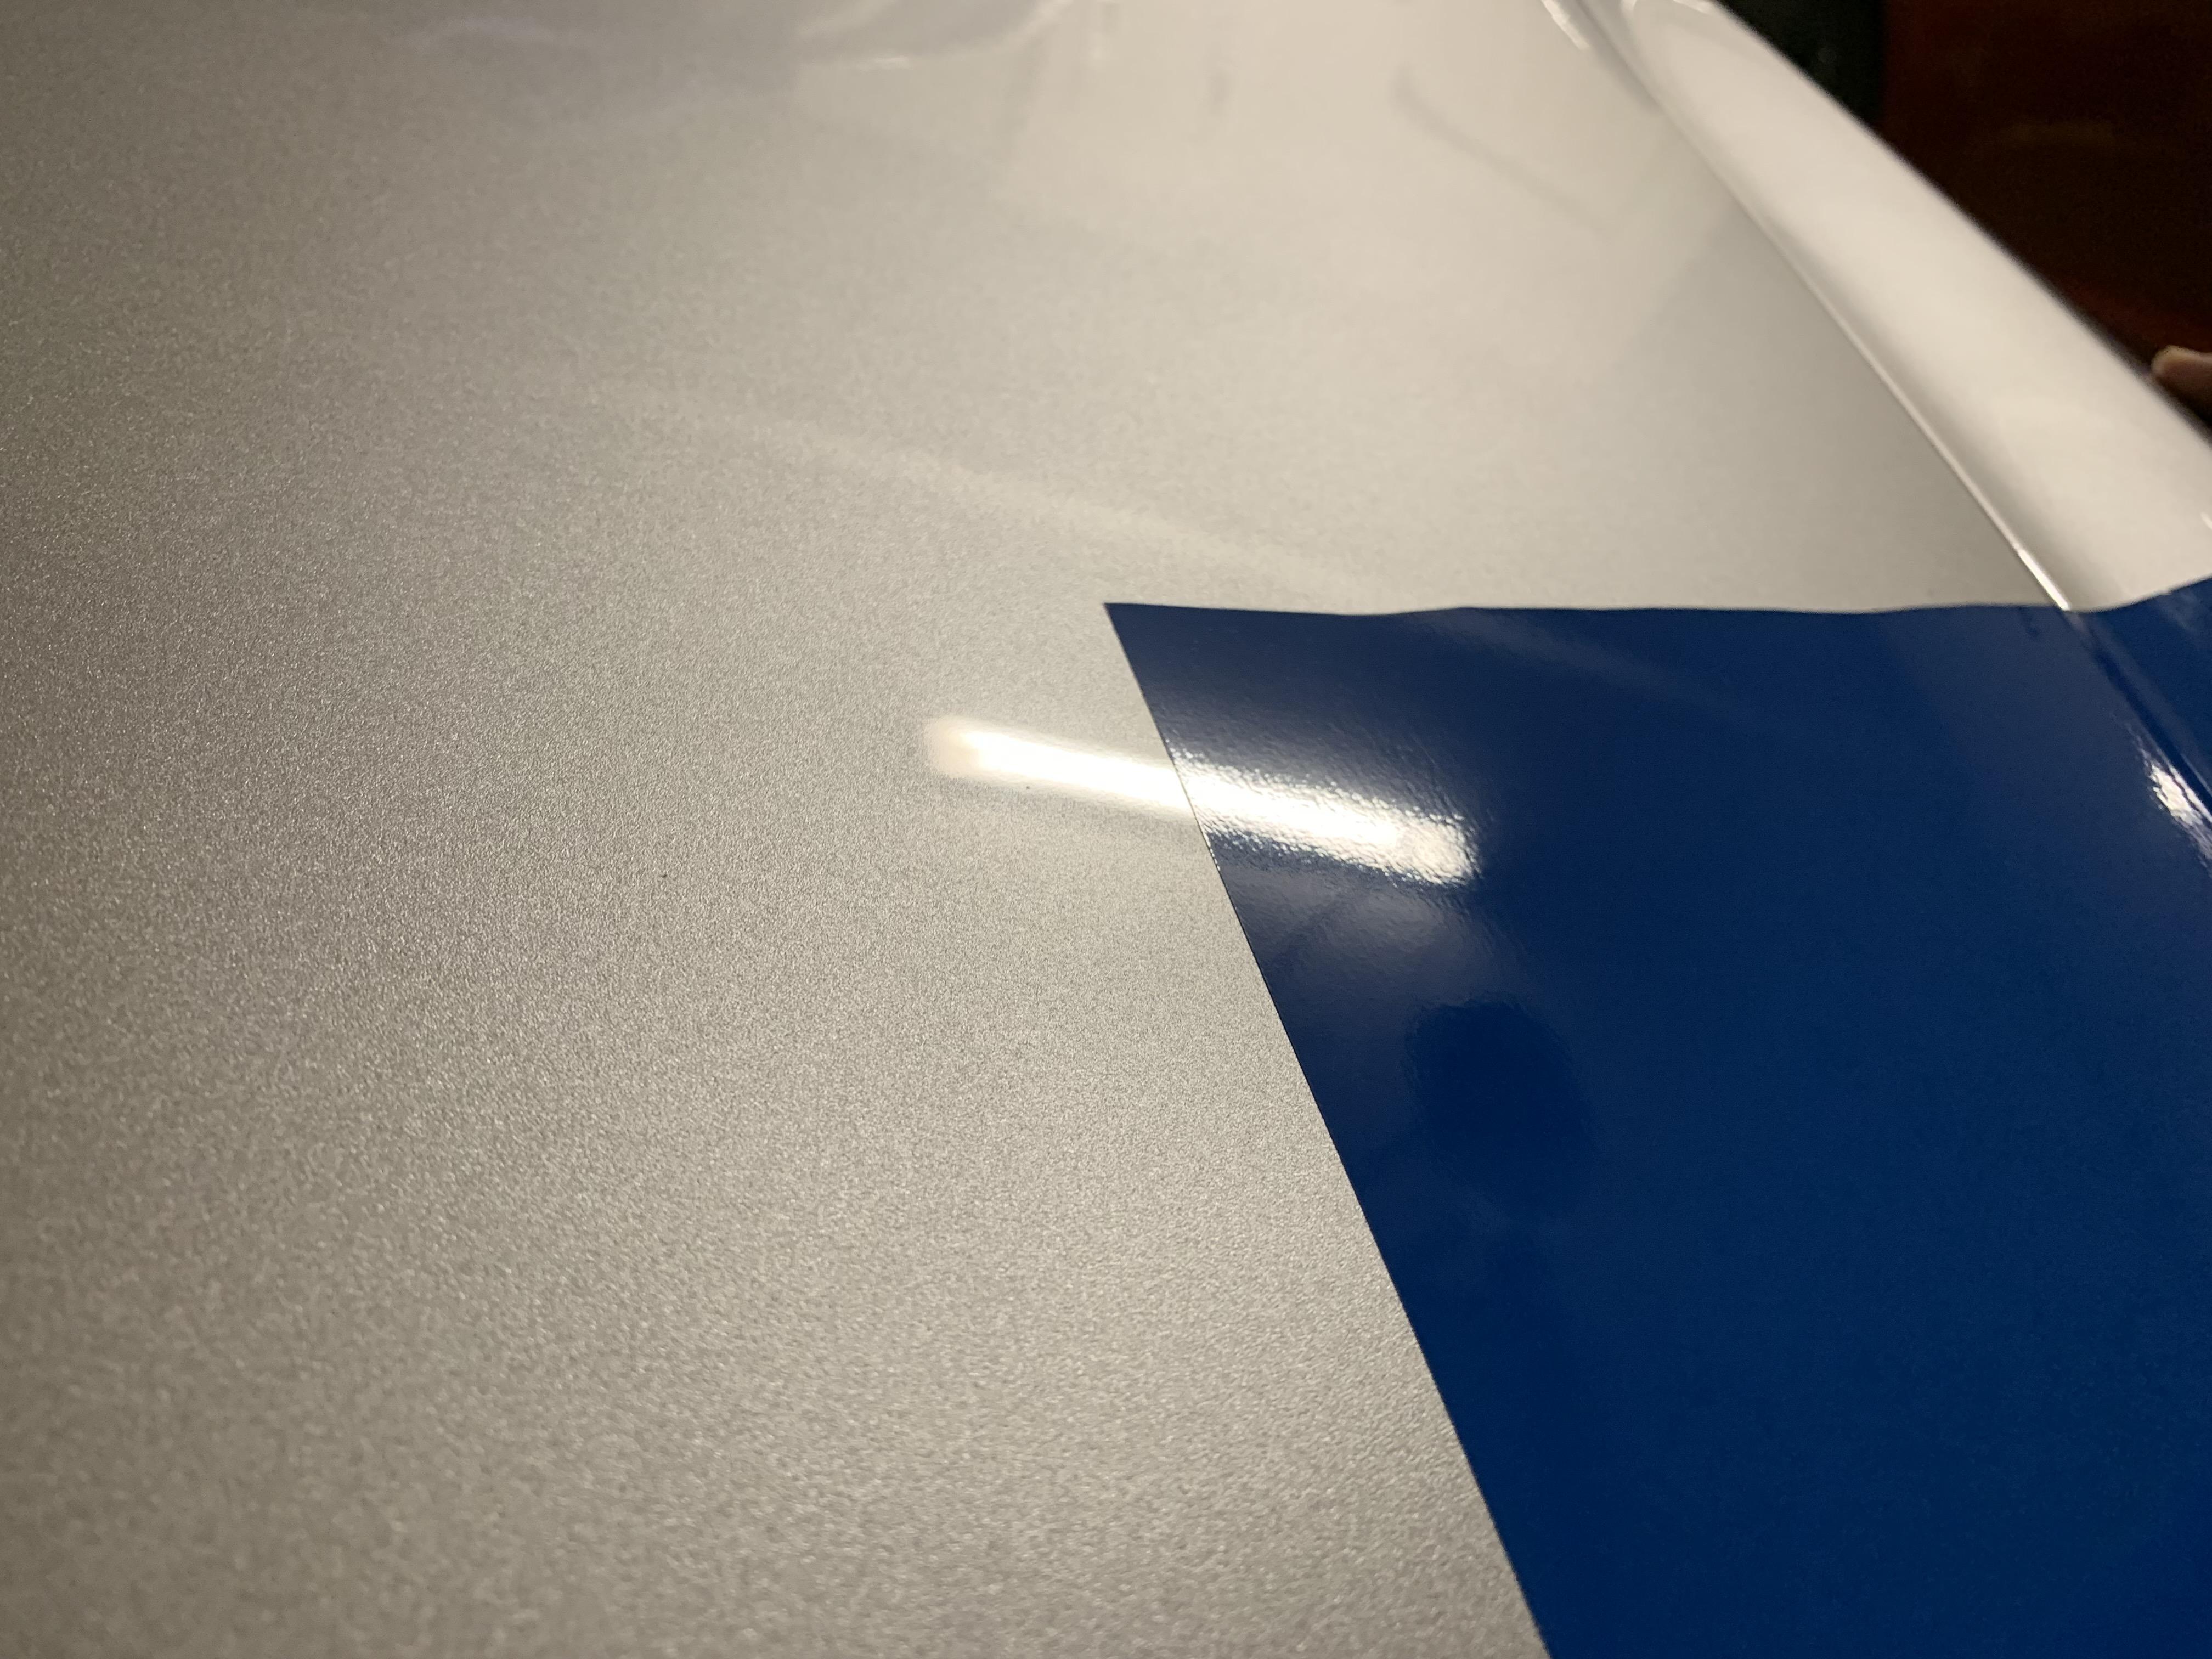
Installing a Gloss Vinyl Wrap can transform the appearance of your vehicle, furniture, or any smooth surface, providing a sleek and polished finish. While it may seem intimidating at first, following these detailed steps will help you achieve a professional result. Here’s how to install a gloss vinyl wrap:
"Step 1: Gather Your Tools and Materials"
Before starting, ensure you have all the necessary tools:
- Gloss vinyl wrap of your choice
- Squeegee (preferably with a felt edge)
- Heat gun or hairdryer
- Utility knife or precision cutting tool
- Isopropyl alcohol and a clean microfiber cloth
- Masking tape
- Measuring tape or ruler
"Step 2: Prepare the Surface"
Proper preparation is crucial for a smooth finish:
1. Clean the surface thoroughly using isopropyl alcohol and a microfiber cloth to remove dirt, grease, and debris.
2. Inspect the surface for imperfections such as scratches or dents. For vehicles, repair these areas beforehand to ensure the vinyl adheres properly.
3. Ensure the surface is dry and dust-free before proceeding.
"Step 3: Measure and Cut the Vinyl"
1. Measure the area you want to wrap and add an extra 2-3 inches on all sides to allow for adjustments.
2. Carefully cut the vinyl wrap to size using a utility knife or scissors.(Purple Car Wrap)
"Step 4: Position the Vinyl"
1. Peel back a small section of the backing paper from the vinyl, exposing the adhesive side.
2. Align the vinyl with your surface and lightly tack it in place. Use masking tape as guides if needed.
3. Avoid stretching the vinyl at this stage to prevent distortion.
"Step 5: Apply the Vinyl"
1. Start in the middle of the surface and work outward, using a squeegee to press the vinyl down. Smooth out any air bubbles as you go.
2. Gradually peel away more of the backing paper while continuing to apply the vinyl in sections.
3. For curved or uneven surfaces, use a heat gun or hairdryer to soften the vinyl. Gently stretch and mold it into place.
"Step 6: Trim Excess Vinyl"
Once the vinyl is fully applied:
1. Use a utility knife to trim away any excess material along edges or seams.
2. Be cautious when cutting to avoid damaging the surface underneath.
"Step 7: Final Touches"
1. Reheat any areas with wrinkles or bubbles using the heat gun, then smooth them out with the squeegee.
2. Double-check all edges to ensure they are securely adhered.
3. Allow the vinyl to set for 24-48 hours before washing or exposing it to harsh conditions.
"Tips for Success"
- Work in a clean, controlled environment to minimize dust and contaminants.
- Take your time—rushing can lead to mistakes.
- If you’re new to vinyl wrapping, practice on smaller surfaces before tackling larger projects like a car hood or roof.
By following these steps, you can achieve a flawless gloss vinyl wrap that enhances the look of your chosen surface. With patience and attention to detail, even beginners can produce professional-quality results!
|
